Access Control
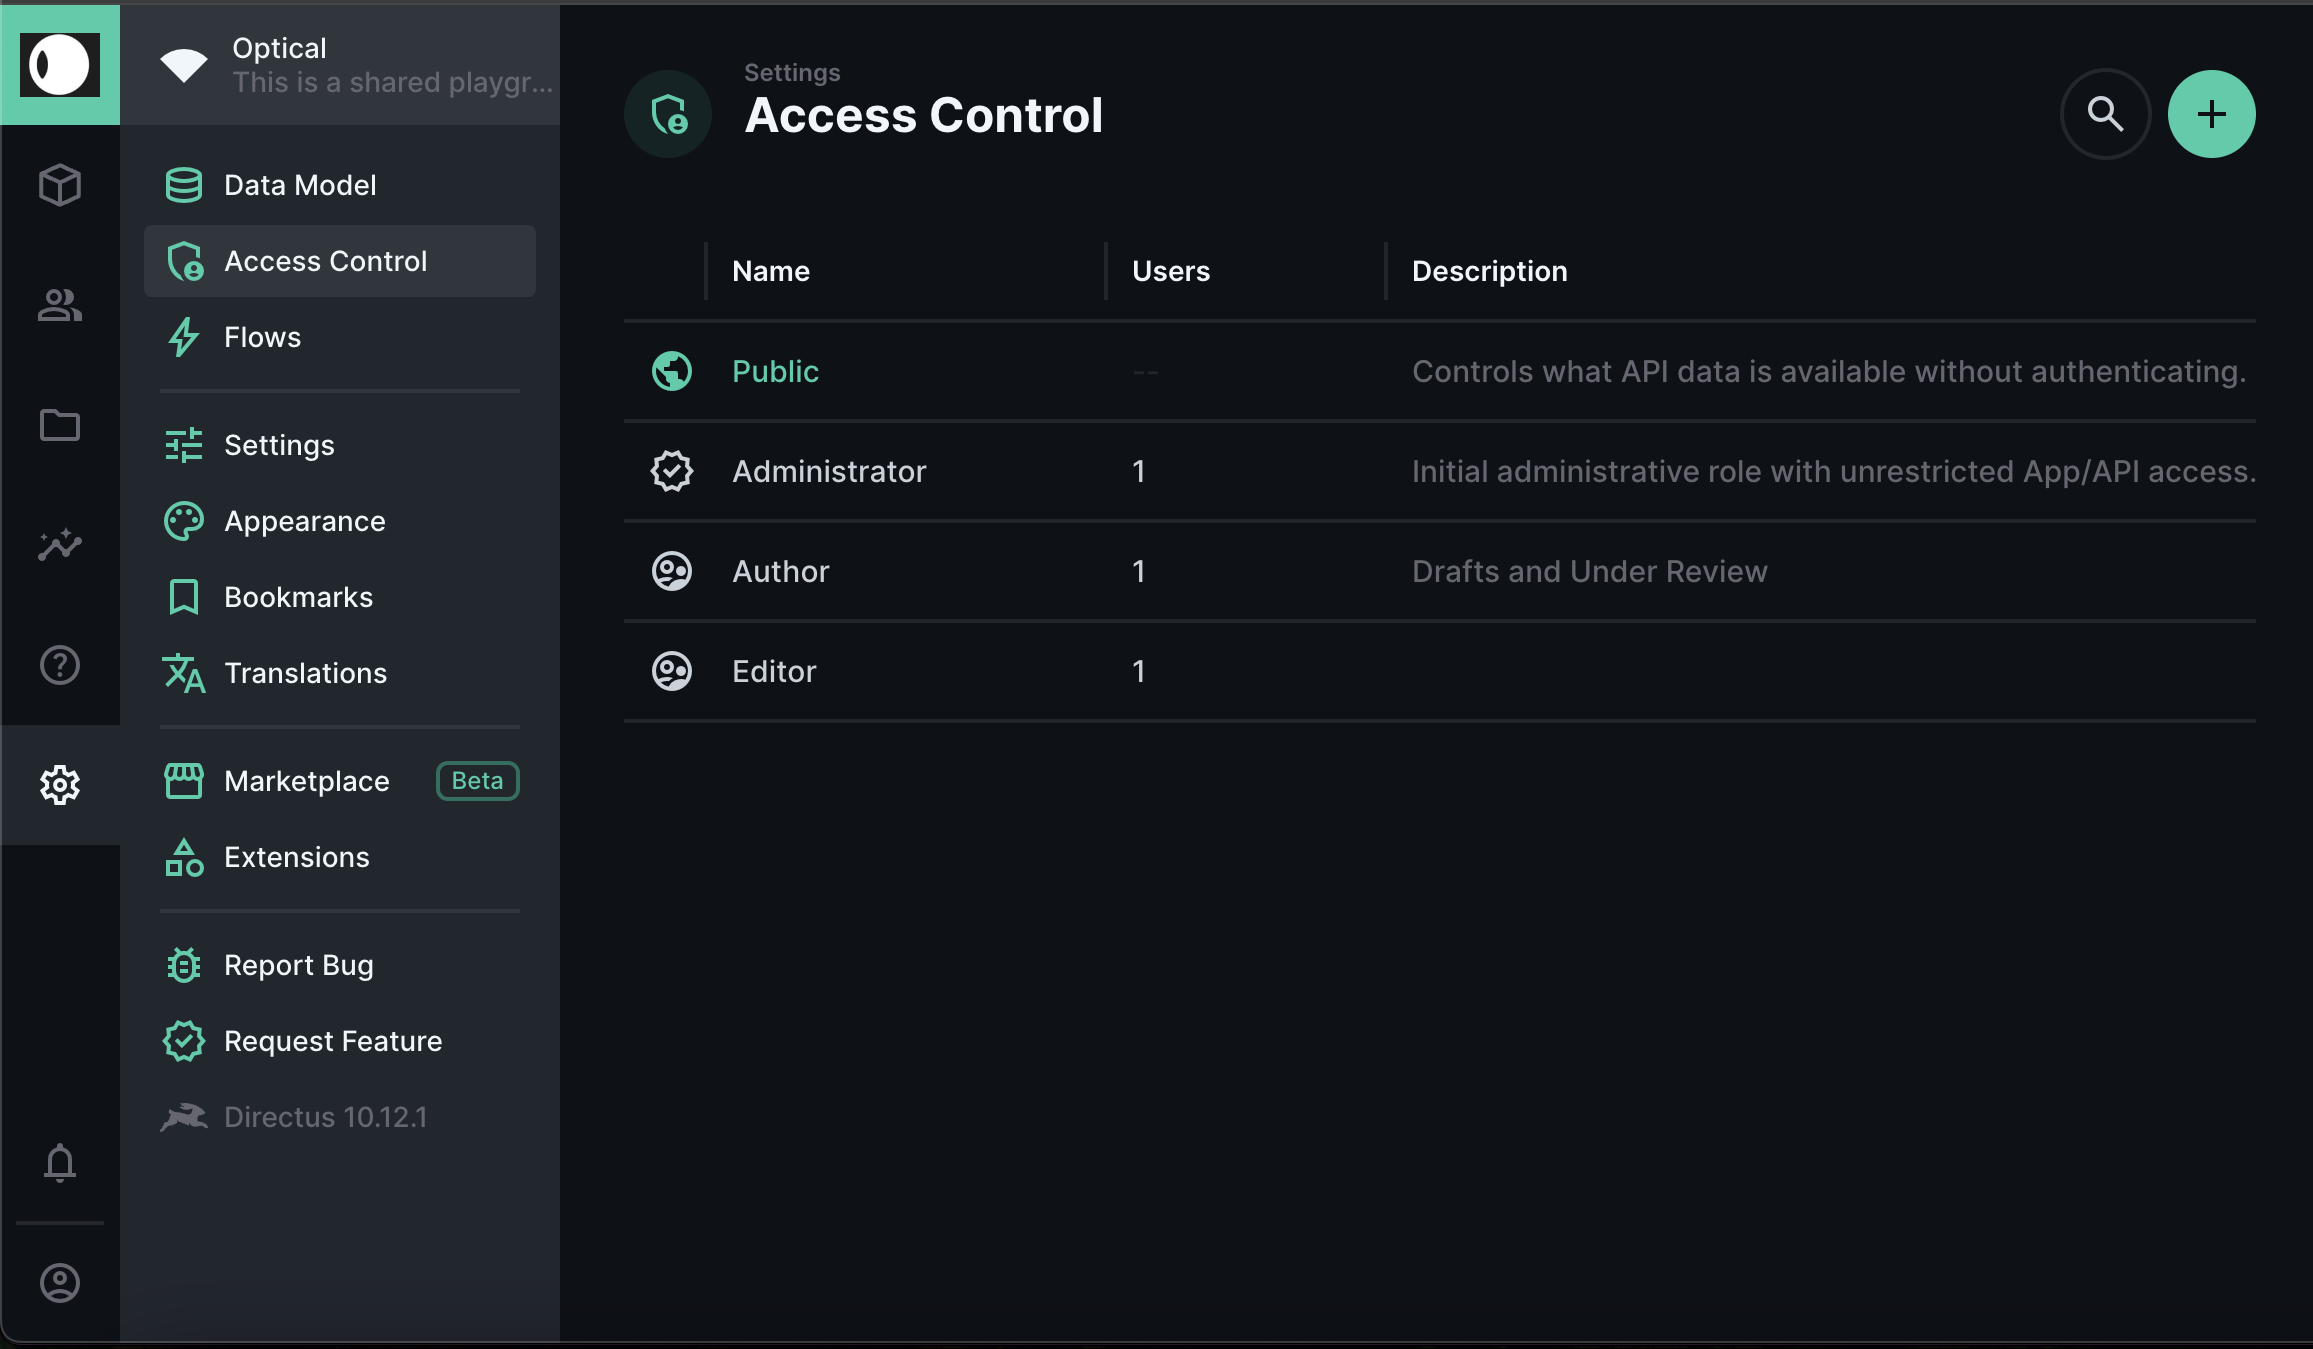
Once you have been granted access to Optical, the first step would be to sort out your security configurations. Navigate to Settings -> Access Control to configure new roles and the permission rights to be granted to each role.
For starters, we would recommend having the following roles:
- Administrator which has full access to your instance of Optical and allows you to onboard users
- Author to create and update site content
- Editor to review, approve and publish content
It is good practice to limit the number of administrators assigned to your instance of Optical and ensure that regular access review is performed on the administrator user group. We suggest doing a review once every 90 days, in line with Instruction Manual (IM) reccomendations.
Overview of Permissions
Optical supports granular permission control down to an object or page level. There are 5 main types of permissions to be granted to roles within optical, namely:
- Create
- Read
- Update
- Delete
- Share
Conditional Permissions
For each permission, a role may be granted All Access, No Access or Custom Access. Custom Access can be configured based on certain conditions such as the status of an article or a page, as shown in the example below where the access to update a Page has been restricted to only when a Page has a status of under review.
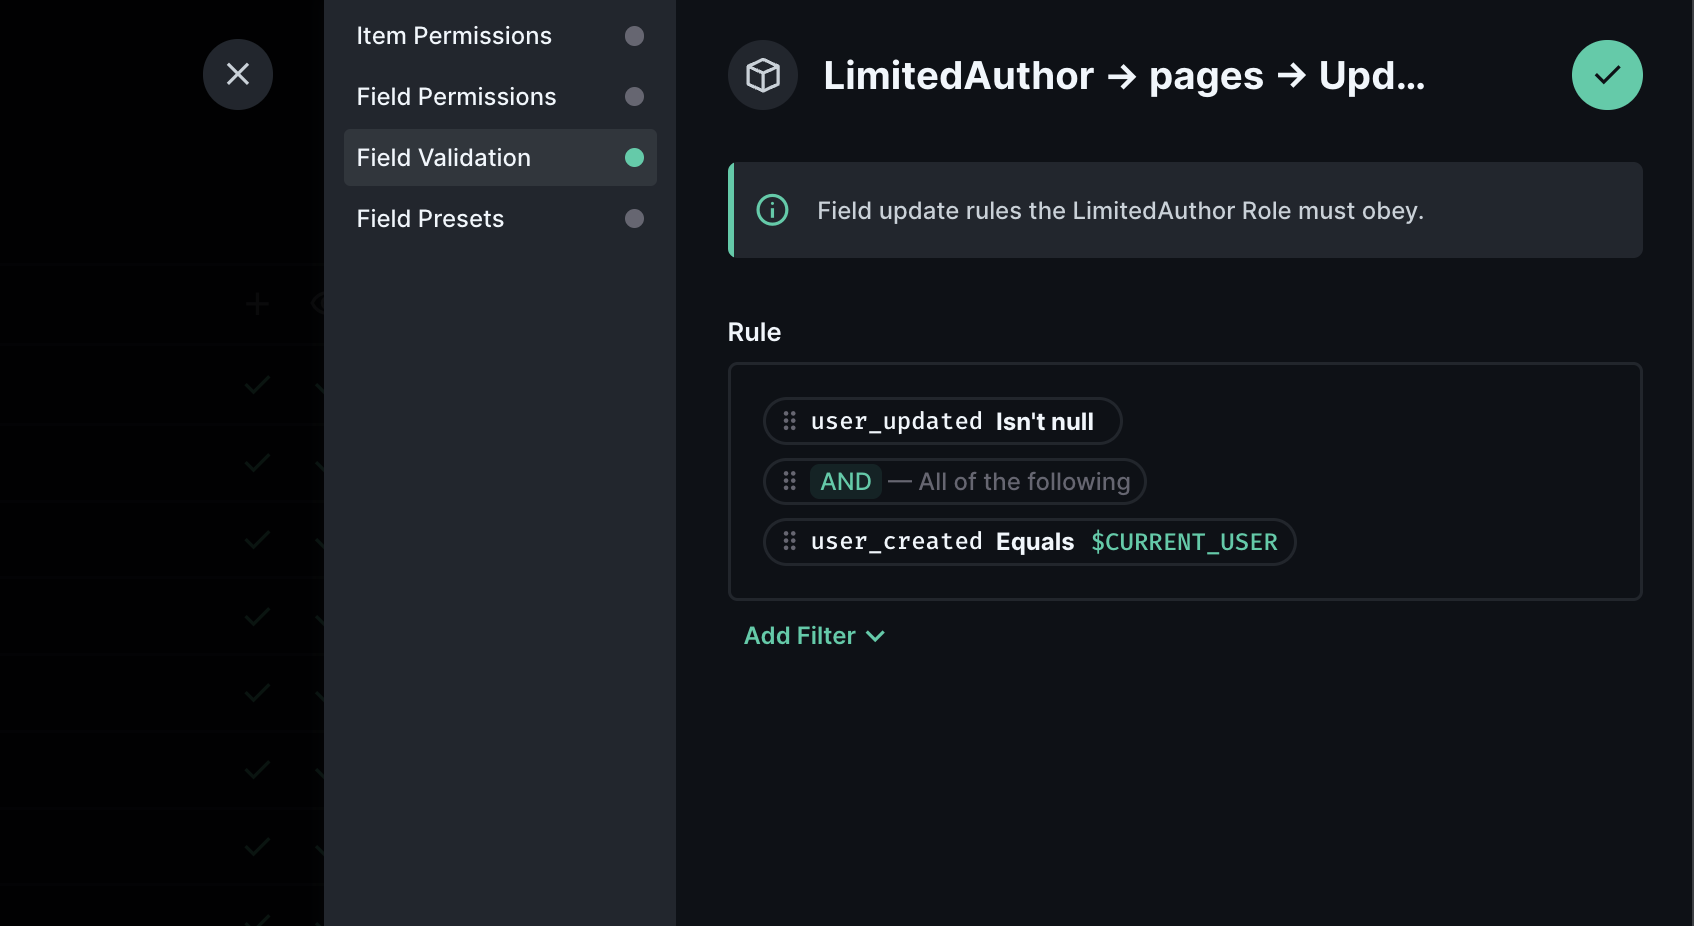
Optical also allows you to layer permissions through a SQL-like condition mapping with common functions such as AND, OR, equals, contains and many more. As seen in the below example, a filter condition has been applied on the status of the item and the boolean flag which indicates if the item has been published.
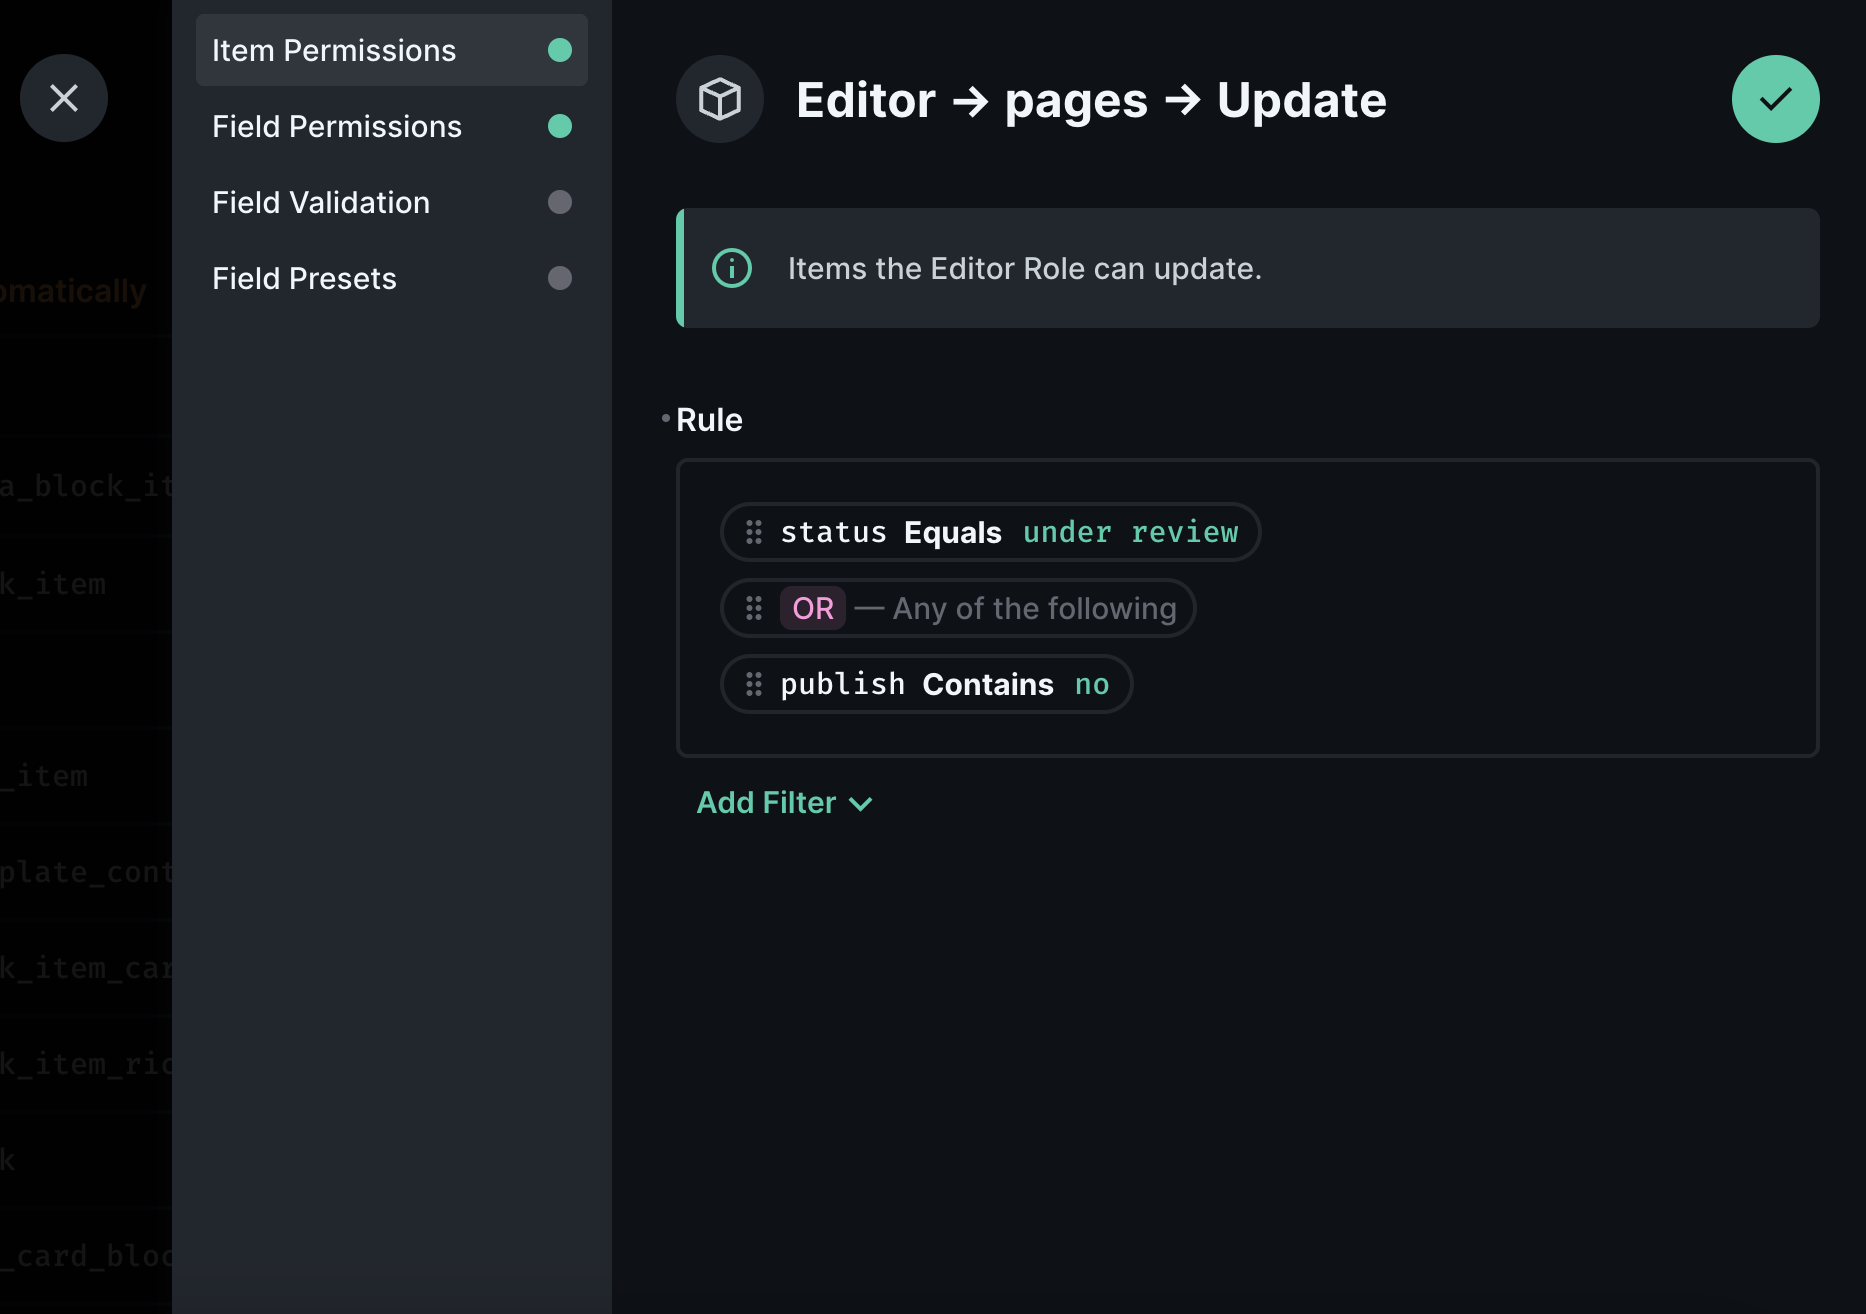
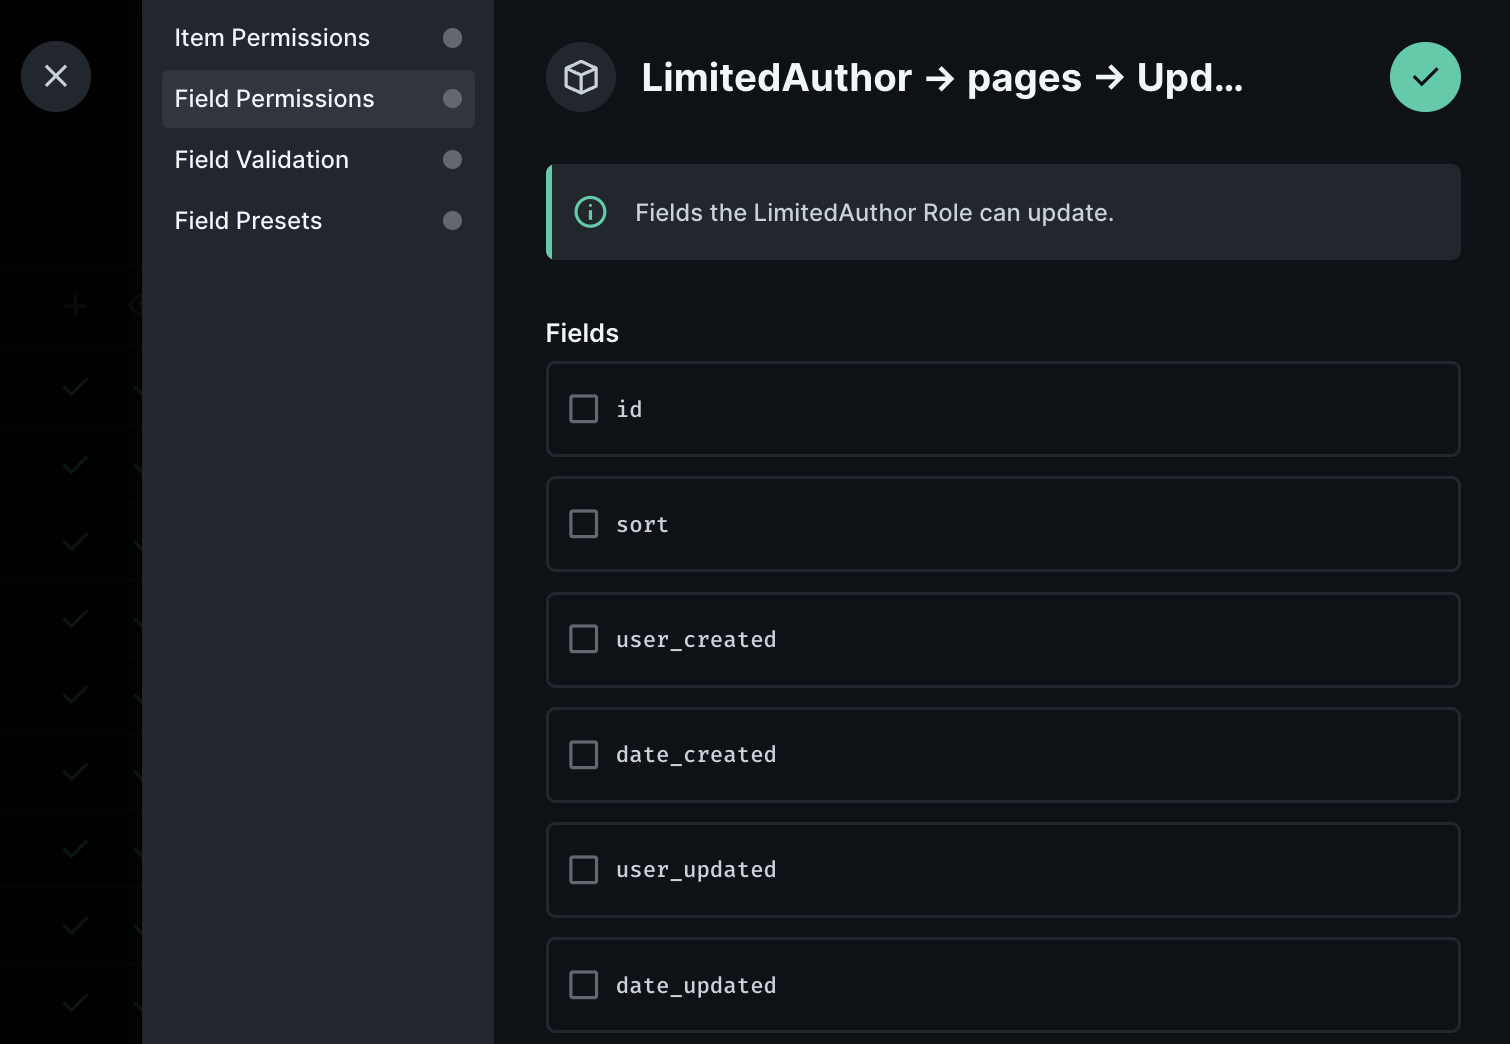
Additionally, you may also implement conditions on fields in a collection which a created role is allowed to create, view, edit or delete through the configuration within the Field Permissions function.
Permissions could also be applied to cater for Field Validation, ensuring that conditional checks are put in place when creating or updating fields and there is conformance to defined standards and guidelines, such as not null or not empty. An alternative to validation could be to use the Field Presets function to define default values.
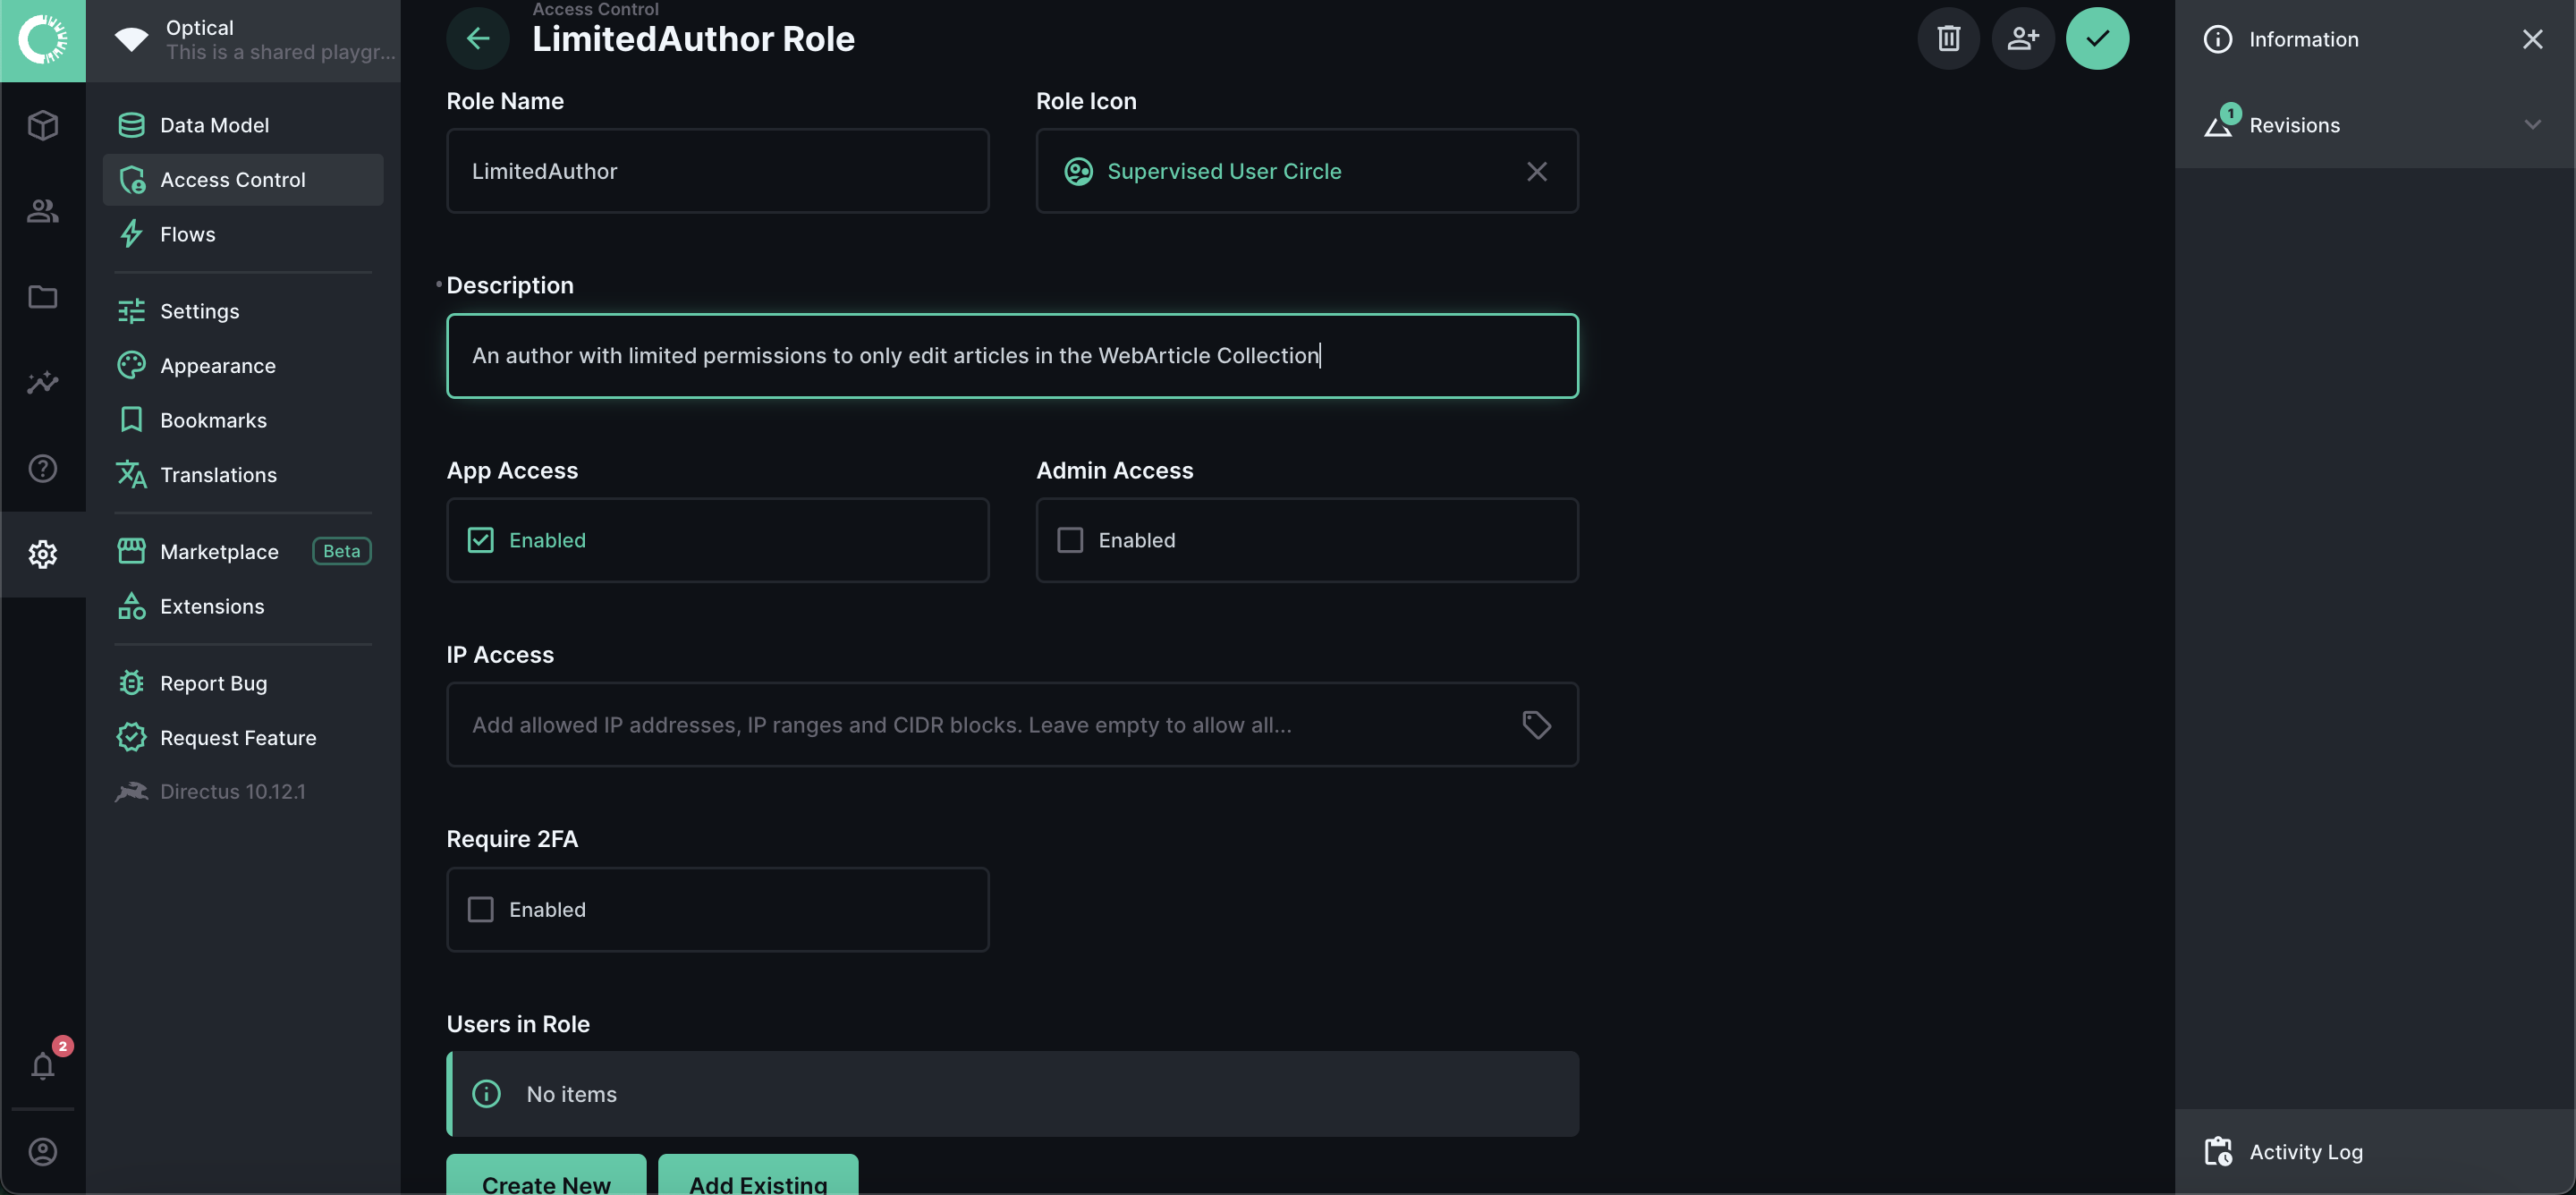
Creating a Role
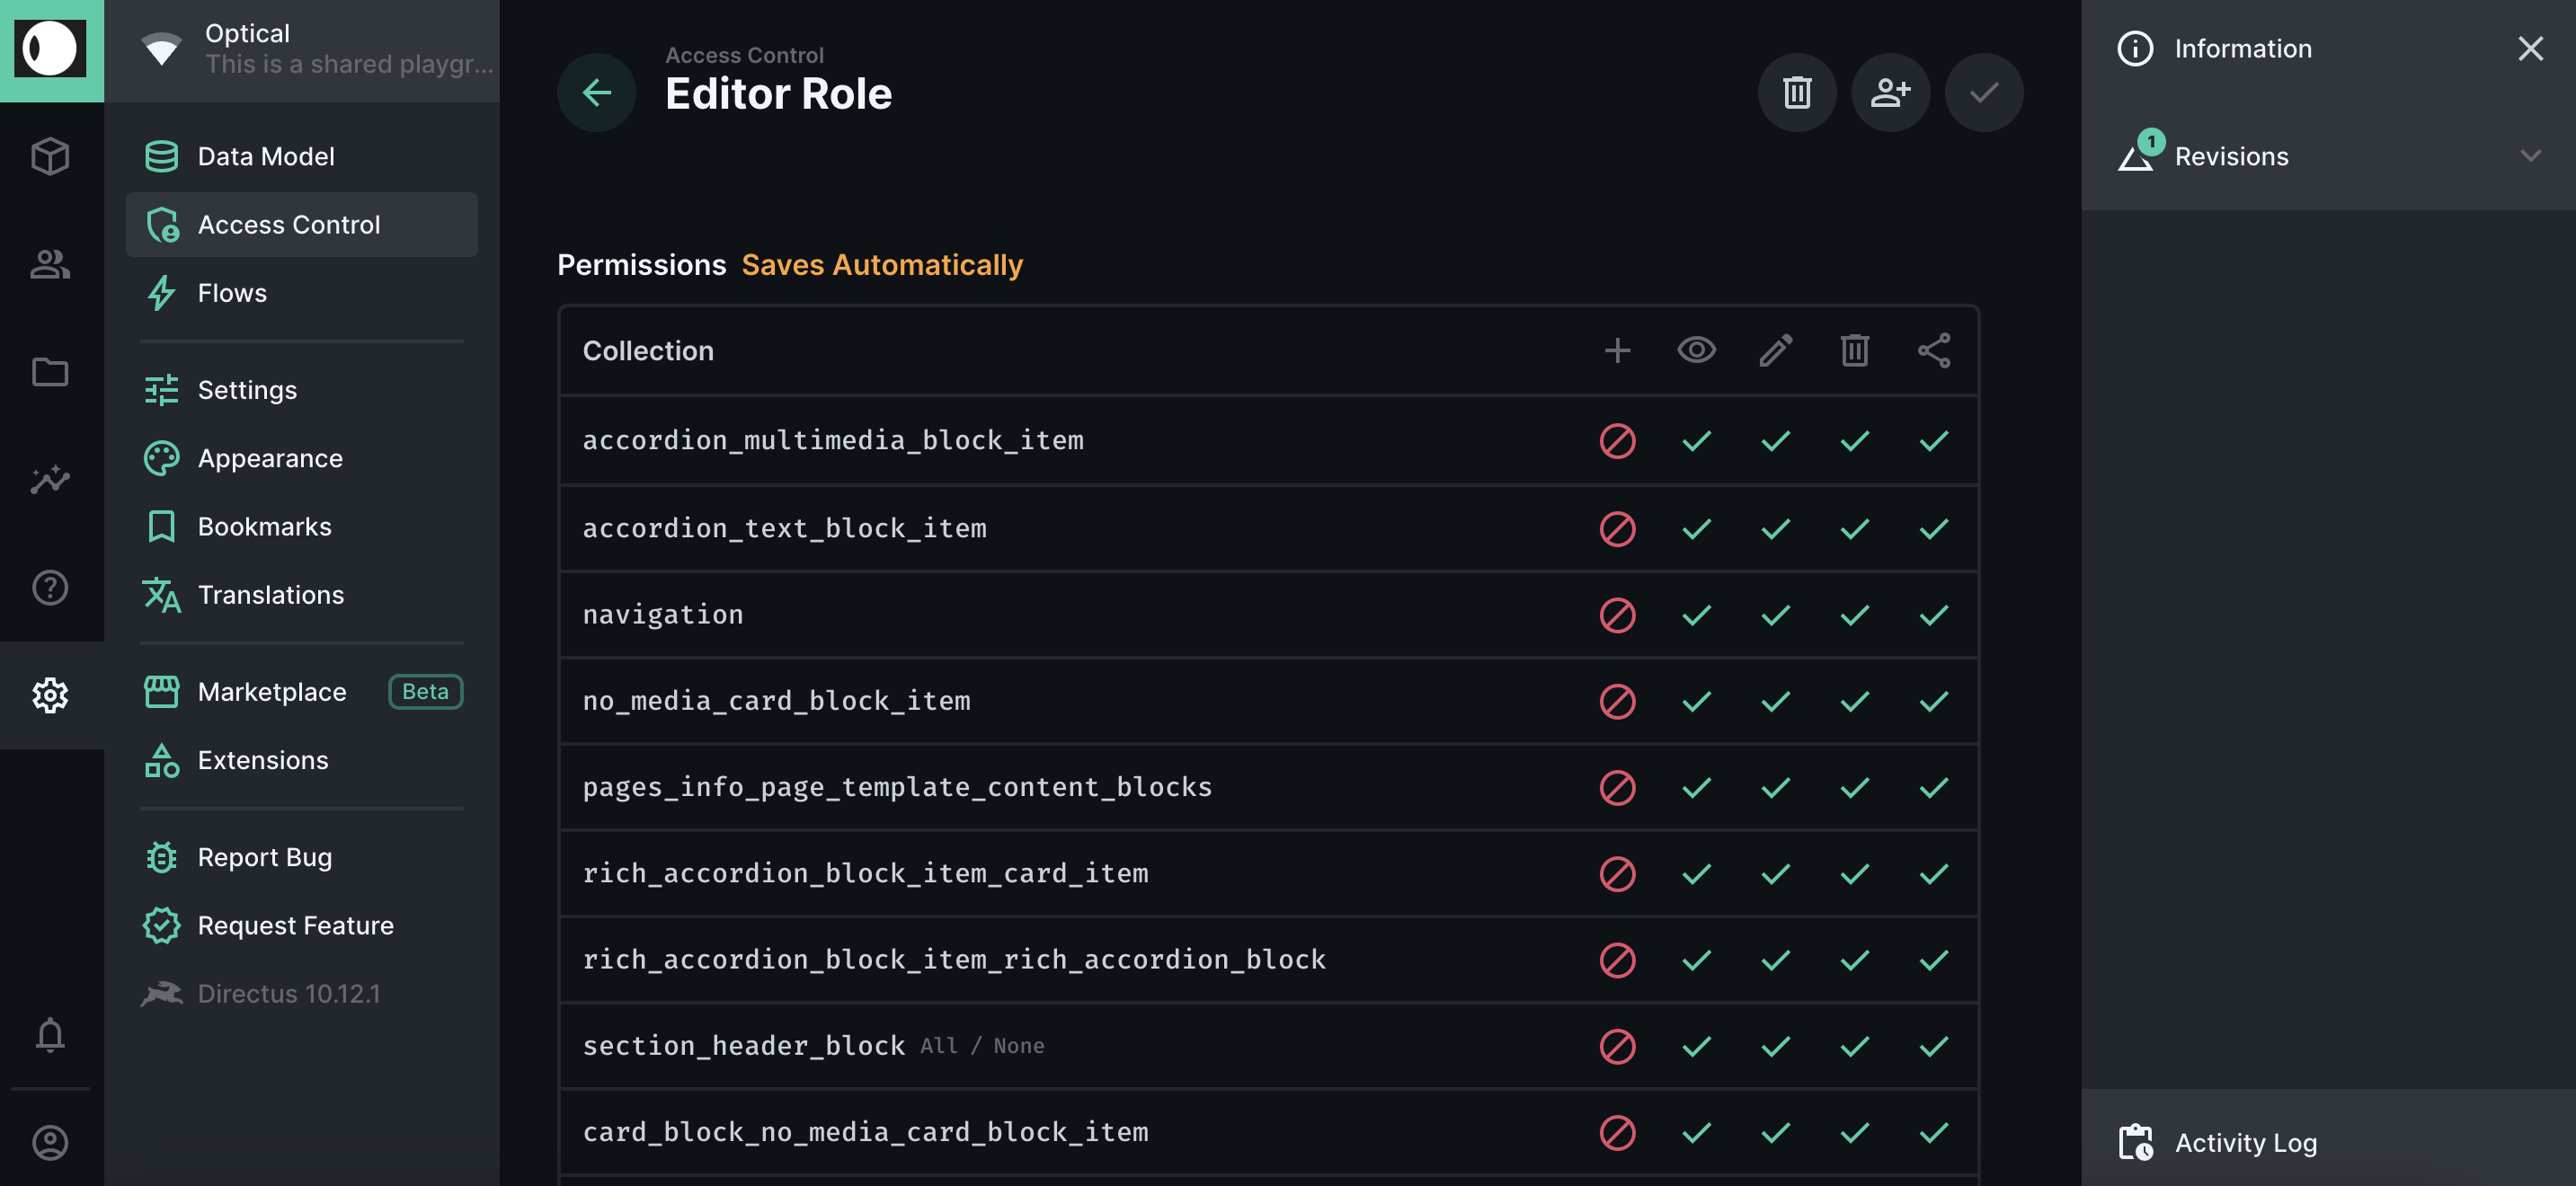
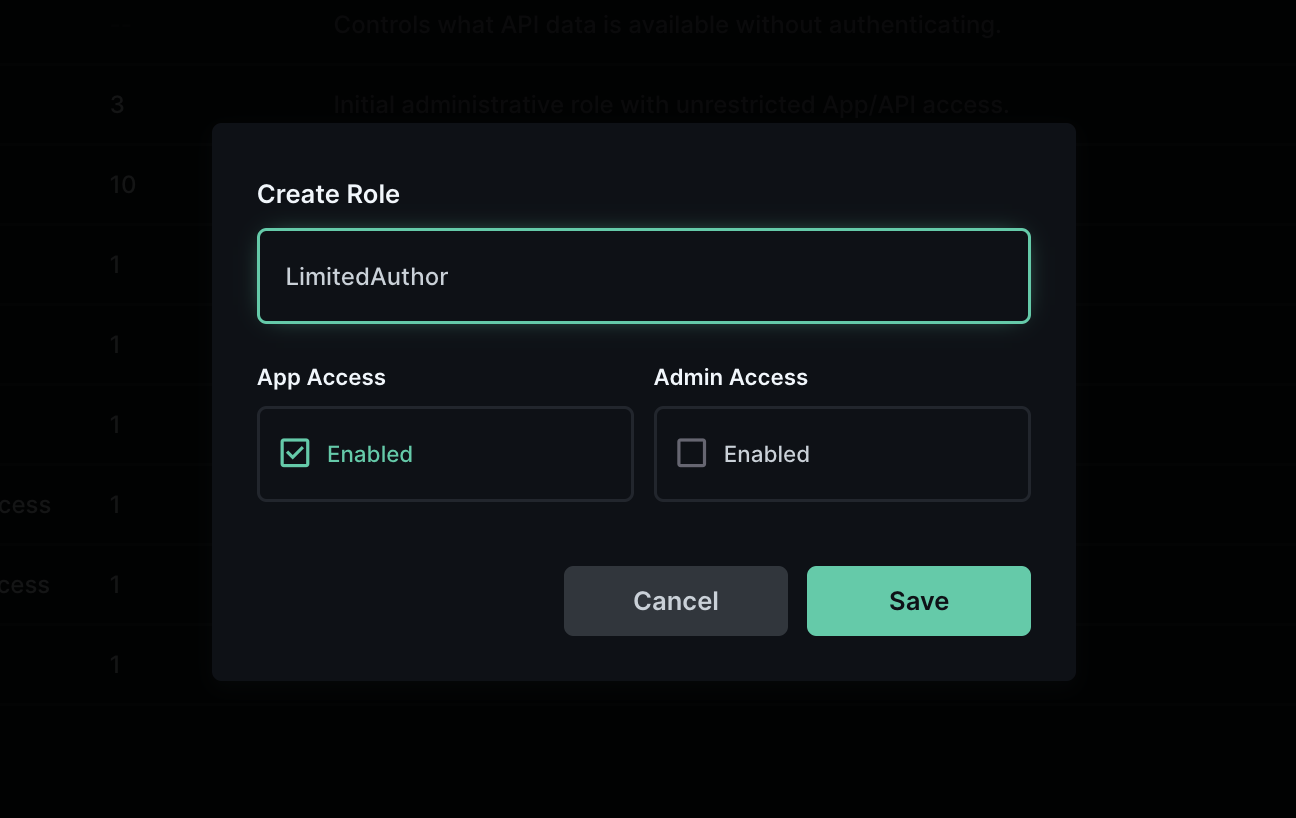
To create a role, click the + icon at the top right hand corner of the table. Here you may specify the name of the role you would like to create. You would also be require to define if this role would be granted App Access, which comes with the lowest privileges or Admin Access, which has the highest privileges.
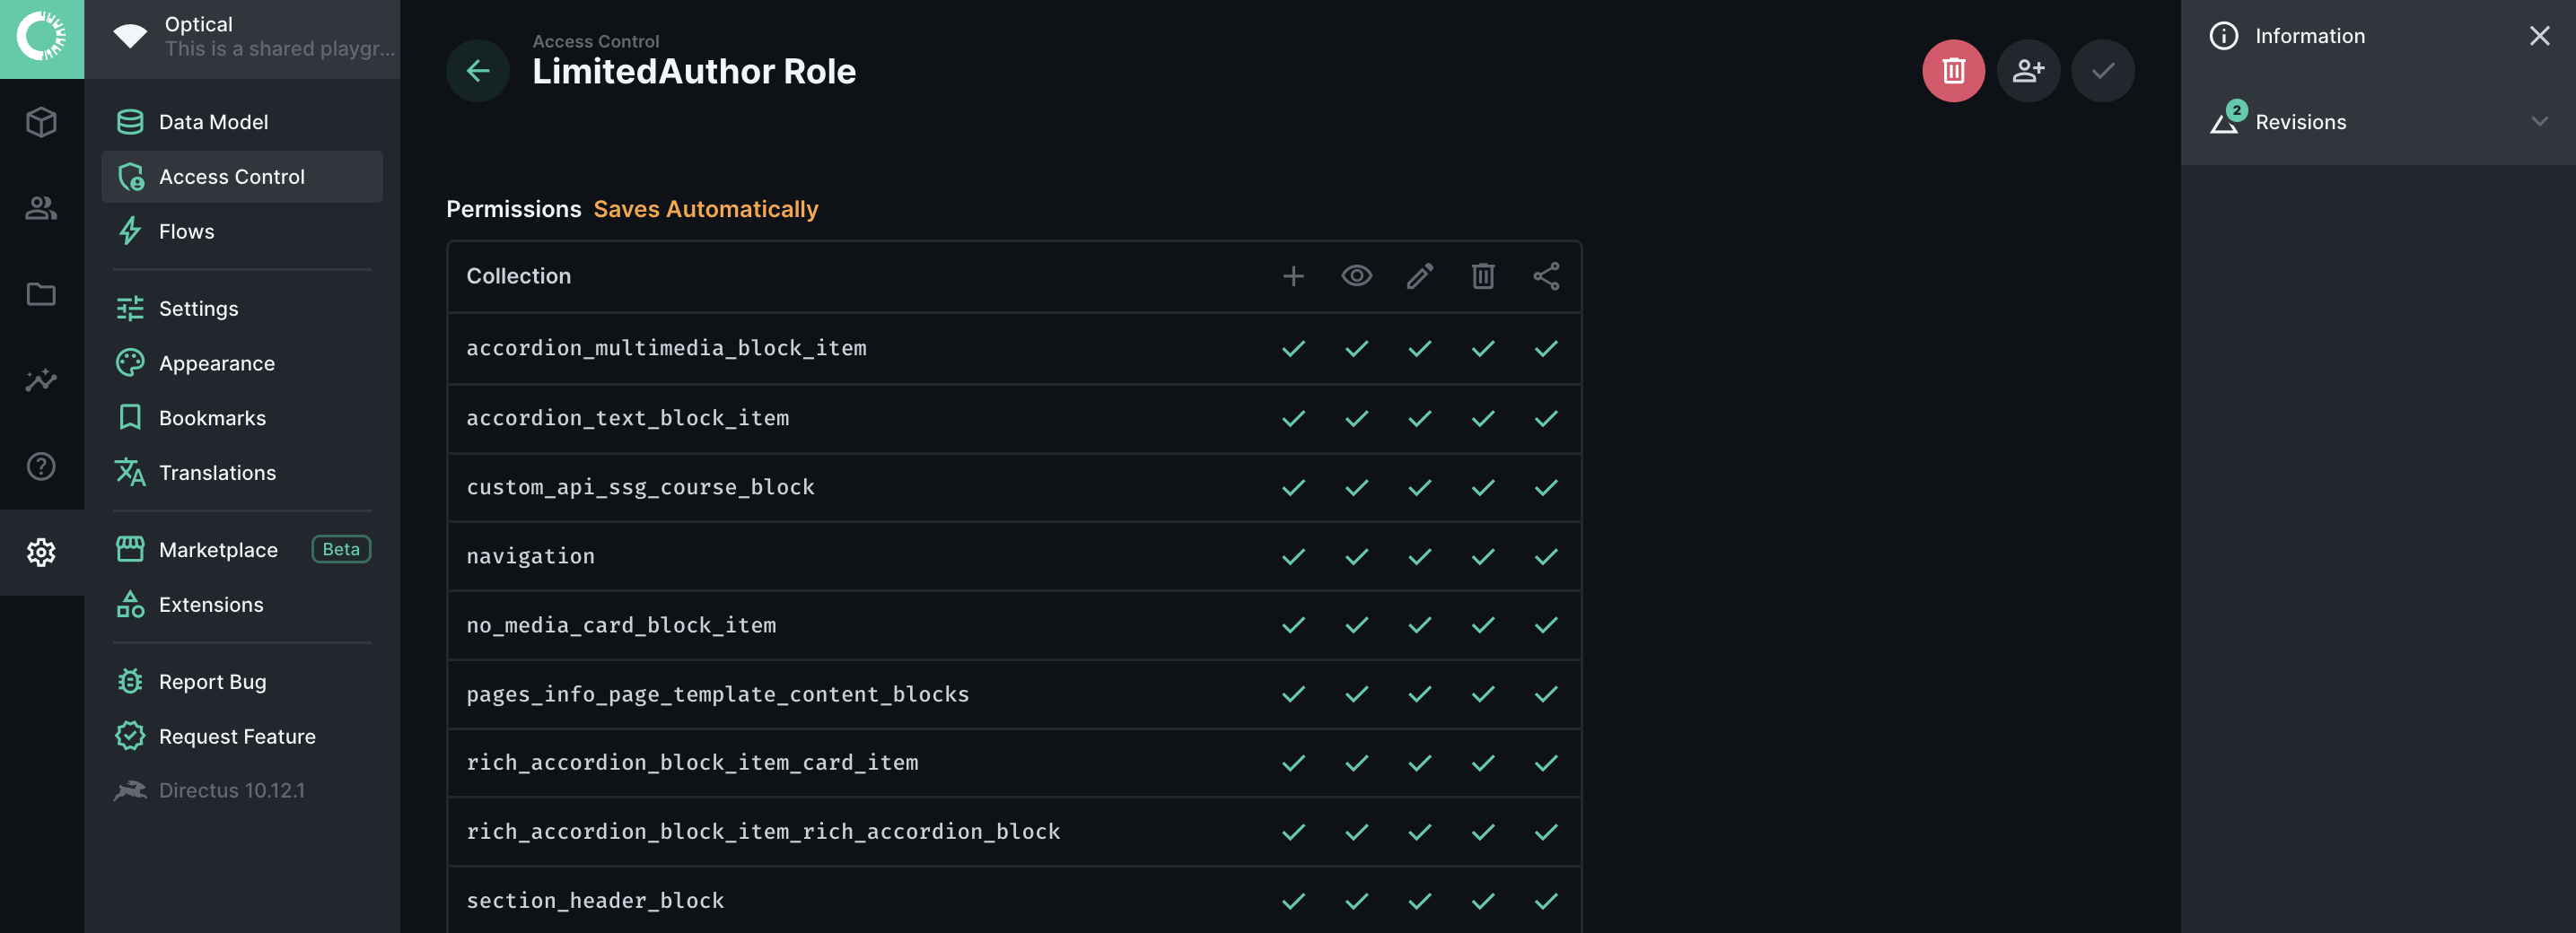
After specifying the type of access, you may then configure individual permissions for each Collection provided in your instance of Optical. To provide quick access you may select the All or None lables within each row to provide all permissions or remove all permissions for a collection.
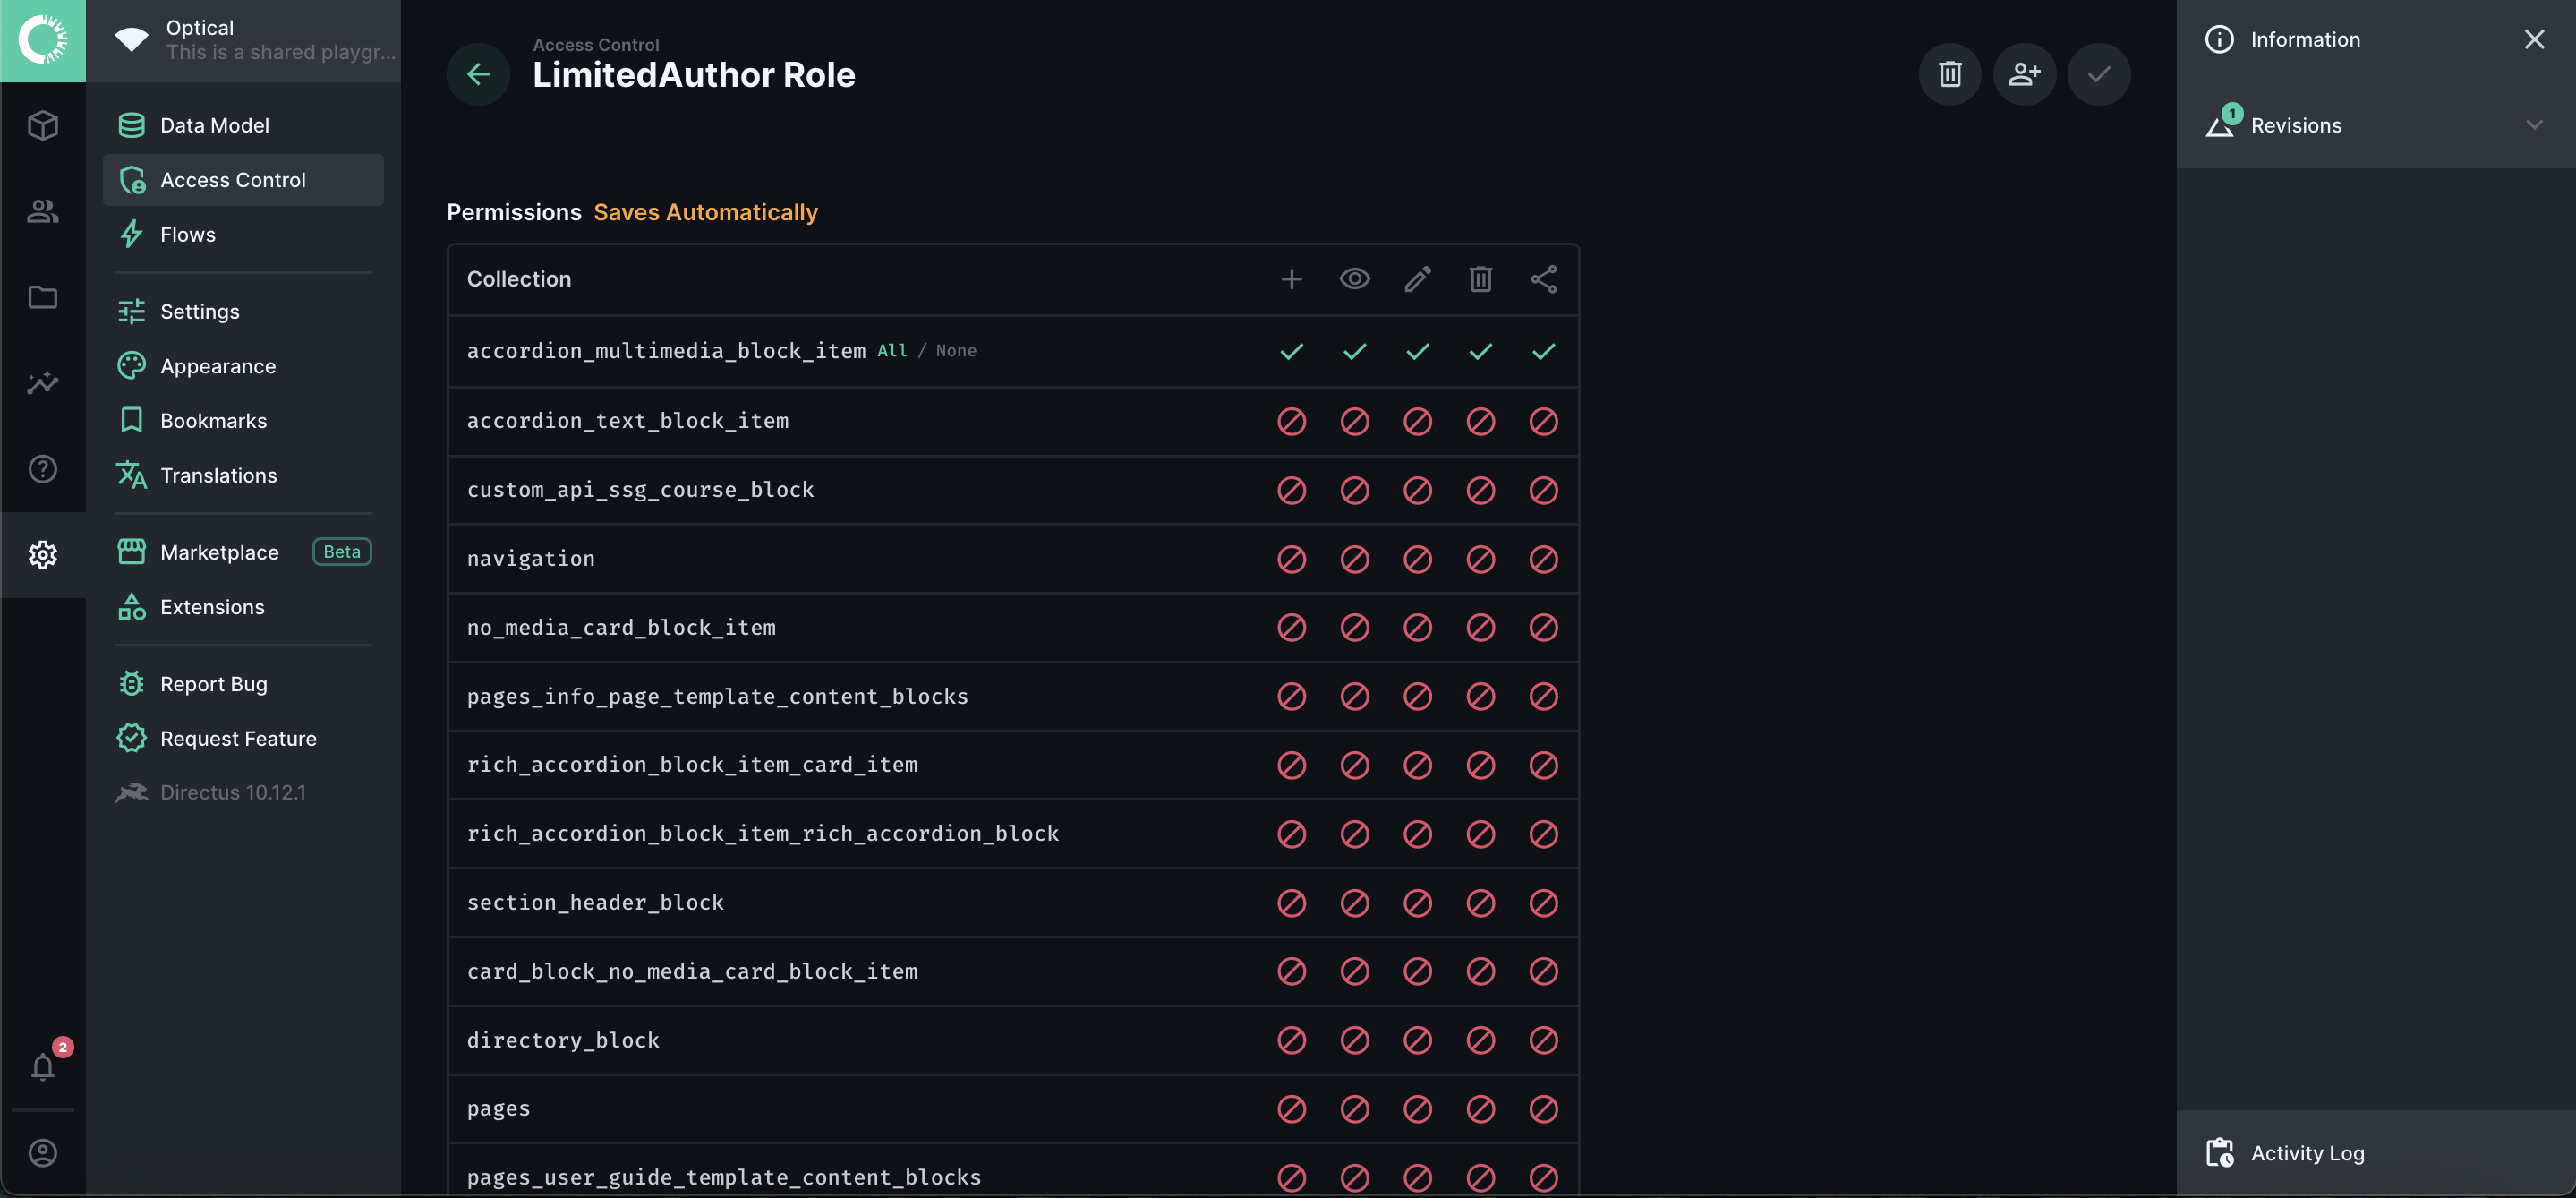
Optical also allows you to limit access to a role through specifying IP ranges which users can belong to. To complete the creation of the role, click on the check button at the top right hand corner of the table.
Deleting a Role
To delete a role, you would first have to select the role to be deleted from the list of available roles. Thereafter, click on the red bin icon at the top right hand corner of the screen to proceed with deleting the role.